Looking for screen printing and embroidery artwork guidelines?
Learn photoshop settings
Keep these in mind when designing
LEARN PRODUCTION TIPS
Use these for the best results
WE ARE EXPERTS
We share our best tips and tricks
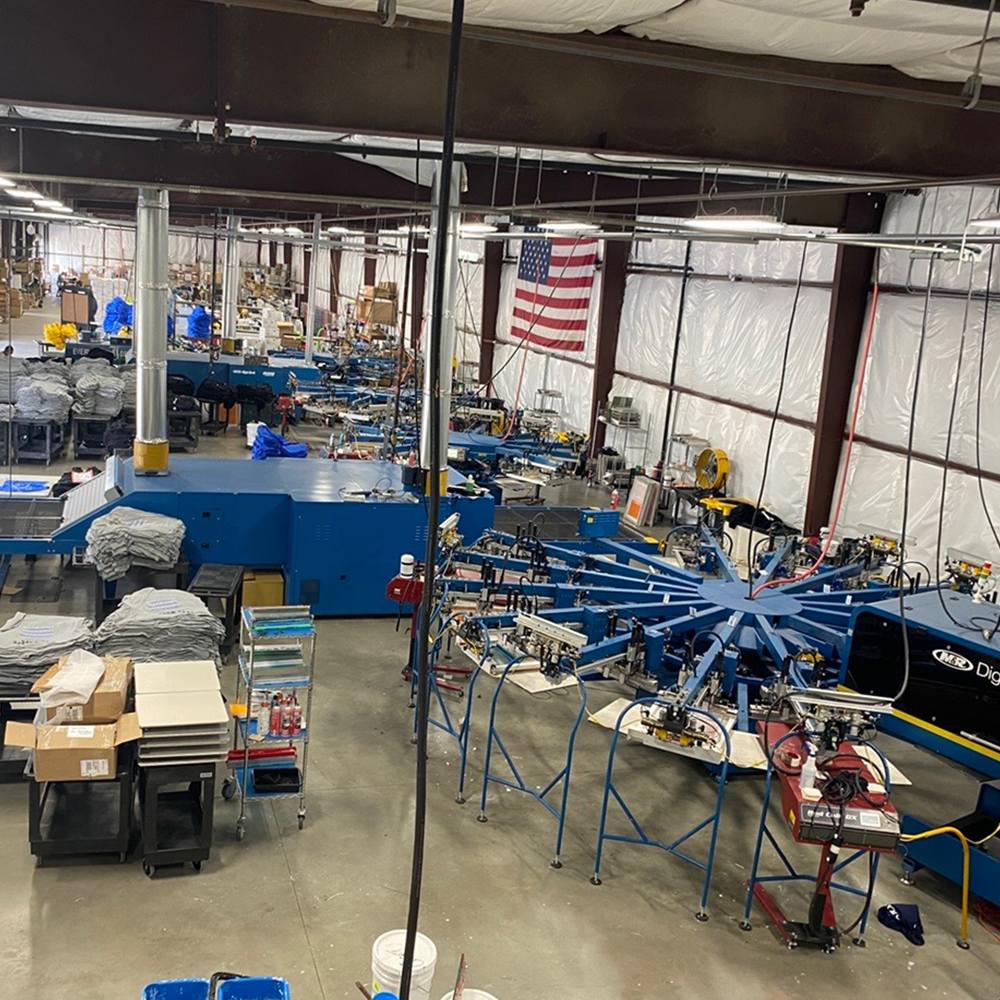
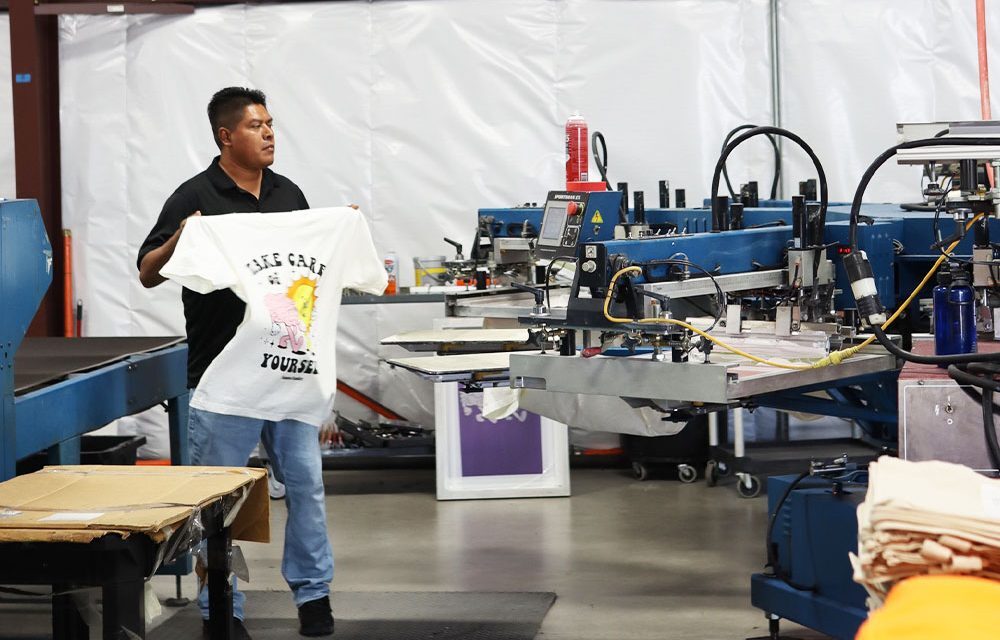
All of our work is done in-house
Portfolio
Our Work
Find Inspiration
Our Process
View Products
When you need merch, trust Garment Decor.
Let's get a quick quote going
Keep these in mind when designing
Use these for the best results
We share our best tips and tricks
Follow these steps when creating your screen printing and embroidery artwork files.
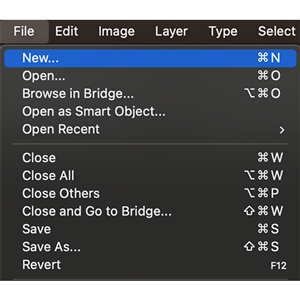
Start fresh
It's best to start with a new artboard when creating each design. This way, you can revert to previous versions easily, reduce the amount of layers, and just ensures you stay organized overall.
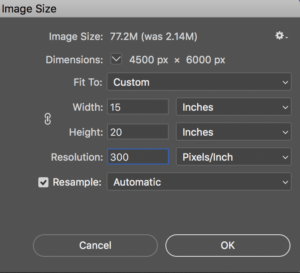
Create your artboard
You want to set it in inches so that you know how big it will print on apparel. In other words, if you make the design 10" wide on Photoshop then it will print 10" wide on the garments.
Grab your artwork
Keep in mind that you want to have the transparent background selected. Do not have a background color. You want it this way, because when you saved the file as a PNG we need to know which colors to print or not. If you have the background color filled in then we may be confused. Pro-tip: The checkered background means the file can be saved as a PNG with the transparency.

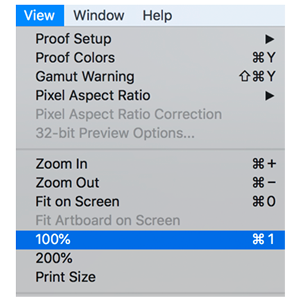
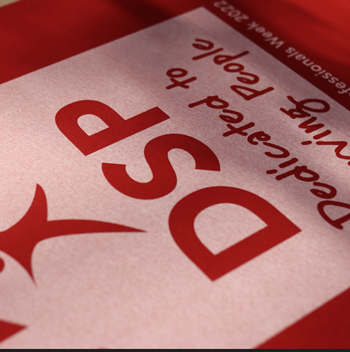
Zoom in 100%
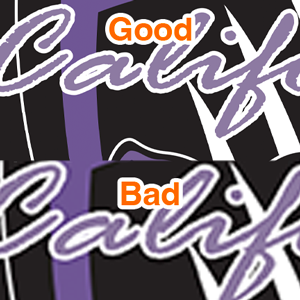
Use this technique to zoom in the artwork and you should see crisp lines which means it will print crisp. If you see blurry lines like then it will print blurry.
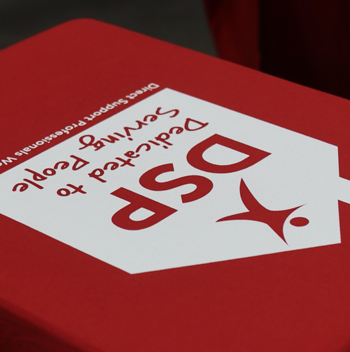
Double check step 4
You want to be sure that the lines are crisp. Feel free to zoom beyond 100% and into 150%. If you still see crisp lines then you are good to go. It's okay if there is some slight blur at 150%, because ultimately 100% is good to go. For you overachievers though, aim for 150% to ensure the best results.
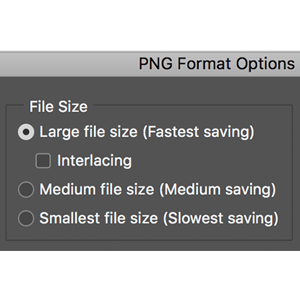
Save as a PNG
Bingo! You are complete! Email us this file to info@garmentdecor.com or upload it on our request a quote page. Don't worry if you did not do it right, because we always triple check artwork with our three step approval process. We go through a thorough artwork approval process and a print a real sample before production to ensure your artwork comes to life beautifully. You're in good hands with Garment Decor!

 A technique that simulates a gradient through use of dots that vary in size and space.
The ink starts off as 100% dense, but then decreases in density in order to simulate lighter tones.
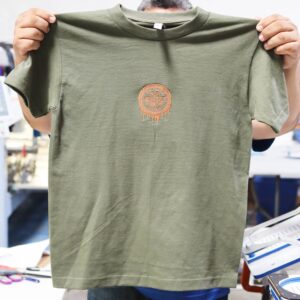
For example, the image above appears to have different oranges in it, but there is actually just one shade of orange.

The best way to create art for screen printing is in vector format. Vectorized images can be resized without losing their quality, which means you'll never have a blurry or pixelated design on your shirt!
Keep in mind though, high quality PNG, JPEG, and JPG in 300 DPI files at 13" wide by 19" tall can absolutely do a great job as well.


You should keep these tips in mind when designing for your clothing brand or business. Our wholesale screen printing and embroidery experts thoroughly review your project before beginning production, but by planning ahead it will help to speed the process up.
This is one of the best fabrics to print on and the results are definitely noticeable. This cotton goes through an advanced manufacturing process.
These create an uneven printing surface which will distort the print. We suggest to leave at least a 1" gap to ensure there are no issues during production.
Our plastisol screen printing inks can print beautifully on blends while our digital squeegee is perfectly made for 100% cotton. The results are outstanding.
Our minimum wholesale screen printing order is 50 units. Although the best bang for your buck kicks in at 100. Feel free to mix garments within our minimums!
Vintage Style
our standard technique
If you’d like the design to appear more minimal, then go no more than 8” wide.
If you’d like the design to appear a bit smaller than standard then go 8" - 10" wide.
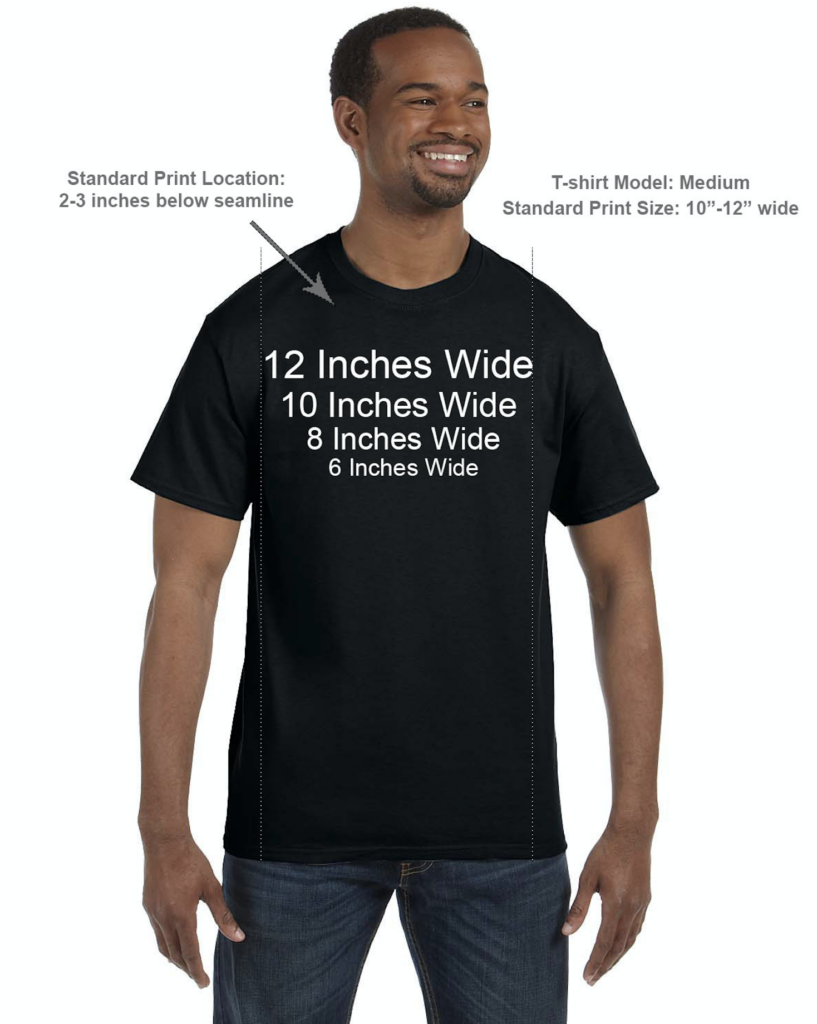
If you’d like the design to appear standard and normal across a variety of sizes.
Typically customers looking for a larger than normal print will go at least 13" to 14" wide.
The more colors your design has then the more expensive the print will be. Therefore, it's important to design with your budget in mind.

Affordable $
This design uses "spot colors". This means that you just print the colors that you see. In this case, it's solid colors red and black printed.

Affordable $$
Black and white prints, aka grayscale, are an affordable way to print pictures. We use halftones re-create the various shades.

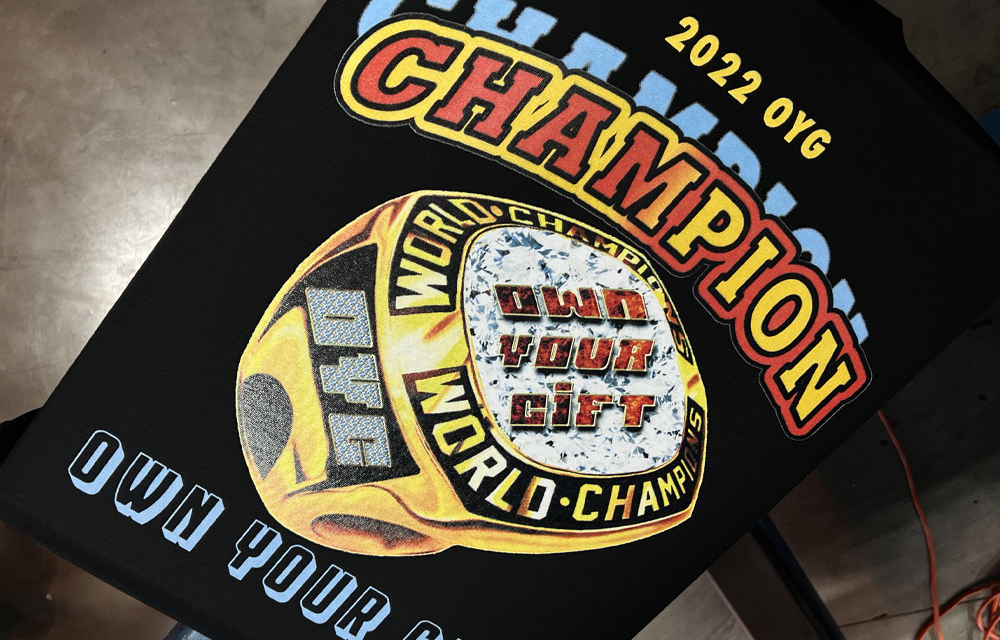
May Exceed Your Budget $$$
This design uses "spot colors". This means that you just print the colors that you see. In this case, it's solid colors red and black printed.

Most Expensive $$$
Photo realistic images incorporate halftones to create the illusion that different shades of colors exist when in actuality the colors are just blending
Save $$$
Ask us about our vectoring artwork service!
OUR VECTOR SERVICE IS FOR YOU
Our vector service is usually $50 (it can be more or less depending on the complexity of the art) and once our service is finished you’ll receive perfect files. These files will include a high quality PNG, .AI, and .EPS. in which you can use for your other marketing efforts as well.
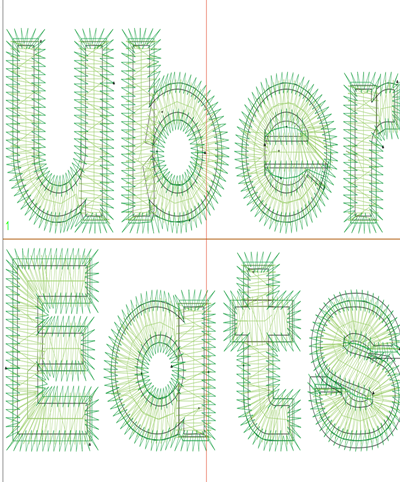
As wholesale custom embroidery experts for over 10 years we have seen our fair share of unique embroidery projects. When creating an embroidery design for your clothing brand or business it's best to keep these tips in mind.
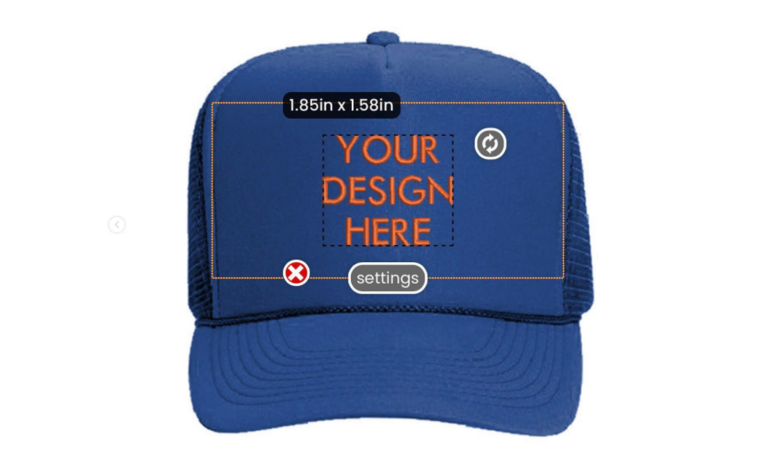
If you're custom embroidering on thin t-shirts then you should keep the design relatively small and vice versa on thicker fabrics.
Design with the fabric color in mind, so that you know what to expect when it comes to production. The last thing you want is not enough contrast.
Custom embroidery at designs larger than 4" x 4" (rough estimate) can become expensive and wrinkle certain fabrics. Less is more with embroidery.
Fonts such as cursive or handwritten style may be difficult to read when embroidered on t-shirts to hoodies. So, try going with serif or san serif fonts.
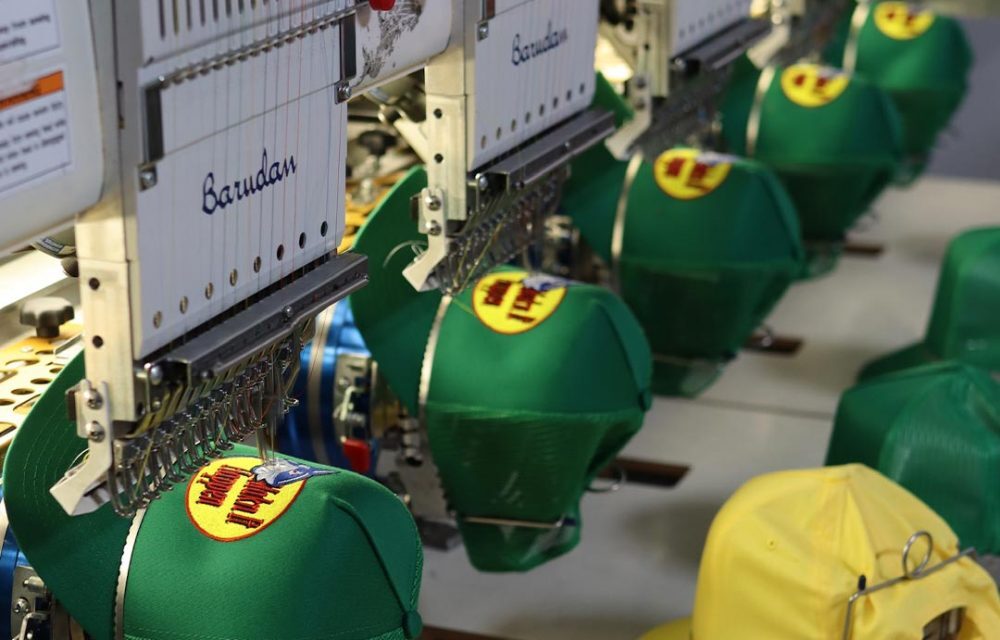
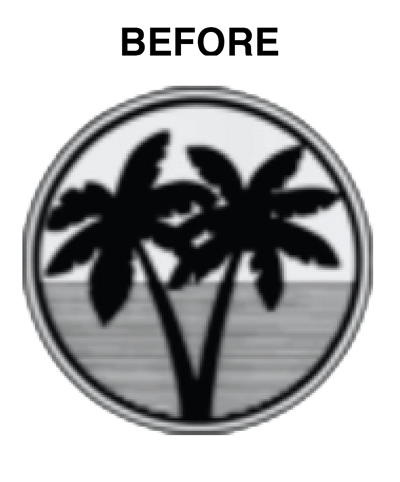
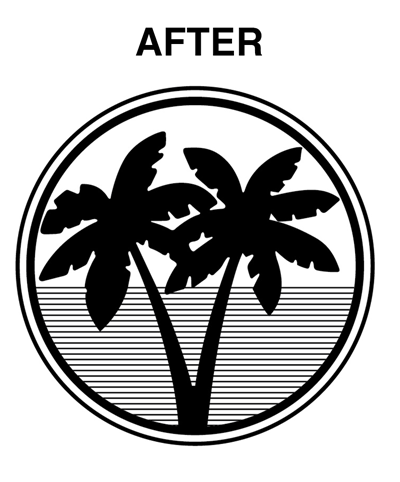
Embroidery is a three-step process. We'll start by asking for your design and finish with a real sample before production.

1 - Send your design

2 - We "digitize" it

3 - We sample
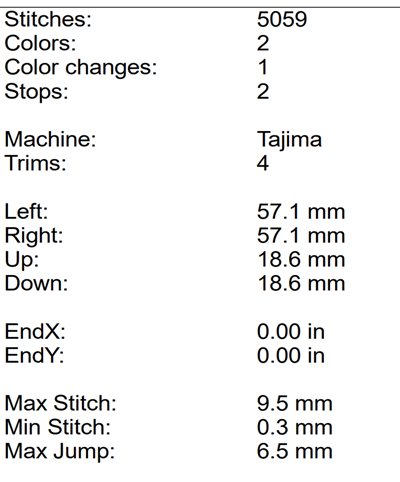
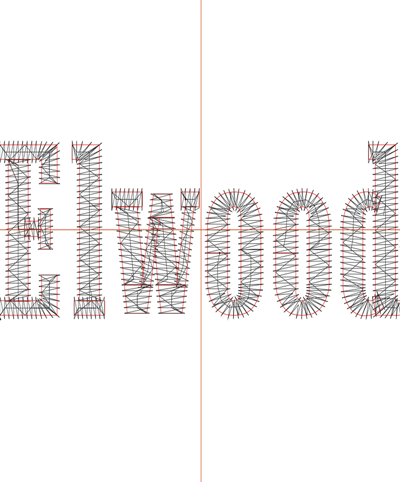
“Digitizing” is the process of converting your artwork into a file that our Barudan Embroidery Machines can read. The process is done by hand and there is a one time charge, but it will not apply on future orders.
we are expert digitizers
Keep in mind that ink is fluid and naturally will fill in small transparent areas. In other words, if you use fonts that are less than 12 points then it may become “ineligible” after printing.
Screen printing machines push ink through the screens at 50 PSI which means that they literally “force” the ink onto the garment. This force causes the ink to spread and will fill in areas of designs that look fine on a computer screen, but not during production. So, design accordingly.

Embroidery is a wonderful technique, but it is not capable of reproducing pictures or complex artwork.
Also, try to keep the number of colors in your design to a maximum of about 5. While we can go up to 14 colors this will add to the “stitch count” and will not only become more expensive, but it may become “too heavy / dense” for the fabric and result in wrinkling. These are general guidelines though, so feel free to ask us if your concept will work!
To summarize, keep this technique in mind if you have clip art style photos or text.
There are thousands of fonts online to choose from and websites such as dafont.com make it easy to find the perfect one for your screen printing and embroidery project.
Keep in mind though, we do not have all of these fonts in our collection. So, we may not be able to load your artwork properly when you send them to us.
Therefore, it’s best you “convert all text to outlines” before sending us the file to ensure we are on the same page.
Click here to visit a post by Adobe on how to convert all text to outlines.
These are cool looking effects on a computer screen and translate well onto paper and other types of media, but not onto fabrics.
It’s usually best to use other design elements such as solid outlines and normal halftones in order to ensure a crisp looking result.
To summarize, screen printing and embroidery are beautiful techniques, but they have their limitations.
There is a filter you can use in Google images called “high resolution” and for the most part these are okay, but it’s best to assume that usually the free versions are not too good. So, if you have the option to buy the artwork from a site such as “Shuttershock” then it’s best to do so.
If you’re not sure, then follow the steps we outlined at the top of the page to see if it will screen print and/or embroider custom apparel well or not.
If you are able to get a vector based image then you will not have to worry! This file type is literally perfect and Adobe has a great post about it, so click here to learn about a vector file.
This photo was provided by Adobe to show the difference between a raster and a vector file:
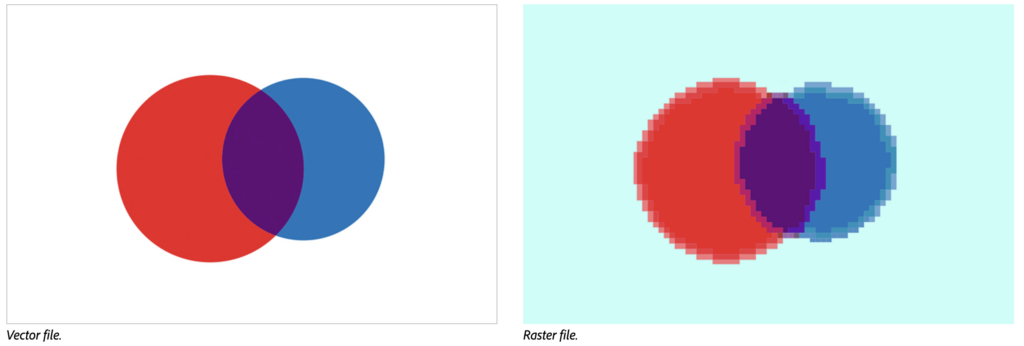
Keep in mind, typically web designers will upload low resolution images in order to improve their page load speed. If you are able to find a vector version then absolutely use it!
Give us a number we can reach you at and our experts will call or text you back within 24 - 48 business hours.
Error: Contact form not found.
Give us a number we can reach you at and our experts will call or text you back within 24 - 48 business hours.
Error: Contact form not found.
We make merchandise for brands, businesses, and events.
Categories
Services