Everything You Need To Know For Making Custom 3D Puff Embroidery Hats
Custom 3D puff embroidery hats are one of the most sought-after products in the branded headwear space. The raised, textured look adds instant premium appeal to any logo or design, making it a favorite for streetwear brands, sports teams, corporate merchandise, and promotional giveaways. If you're considering puff embroidery hats for your next project, here's everything you need to know to get the best results.
How 3D Puff Embroidery Hats Technique Works
Understanding the production process helps you make better design decisions and communicate more effectively with your embroidery provider. Here are the key steps:
- Design digitization — Your artwork is converted into a machine-readable embroidery file. The digitizer sets stitch types, density, underlay patterns, and pull compensation specifically for 3D puff work. This step determines the quality of the final product, so working with experienced digitizers is essential.
- Foam placement — A sheet of 3D embroidery foam (typically 3mm thick) is placed over the hat panel where the design will be stitched. The foam provides the height and structure for the raised effect. Foam color usually matches the thread or the hat fabric to ensure no foam is visible in the final product.
- Machine embroidery — The embroidery machine runs the digitized file, stitching through the foam and into the hat fabric. Satin stitches and column stitches are the most common stitch types for puff embroidery because they wrap cleanly over the foam and create defined, smooth edges. The machine must maintain consistent tension and speed to prevent thread breaks and uneven coverage.
- Foam tearaway — After stitching is complete, excess foam outside the embroidered design is carefully torn away by hand. Quality foam tears cleanly along stitch lines without leaving residue. This step requires a steady hand to avoid pulling or distorting the stitches.
- Quality inspection — Each finished hat is inspected for consistent puff height, clean foam removal, accurate color matching, proper stitch coverage, and overall design alignment. Hats that don't meet quality standards are set aside for rework or replacement.
Smart Tips for Perfect Results
Follow these guidelines to ensure your puff embroidery hats come out perfectly:
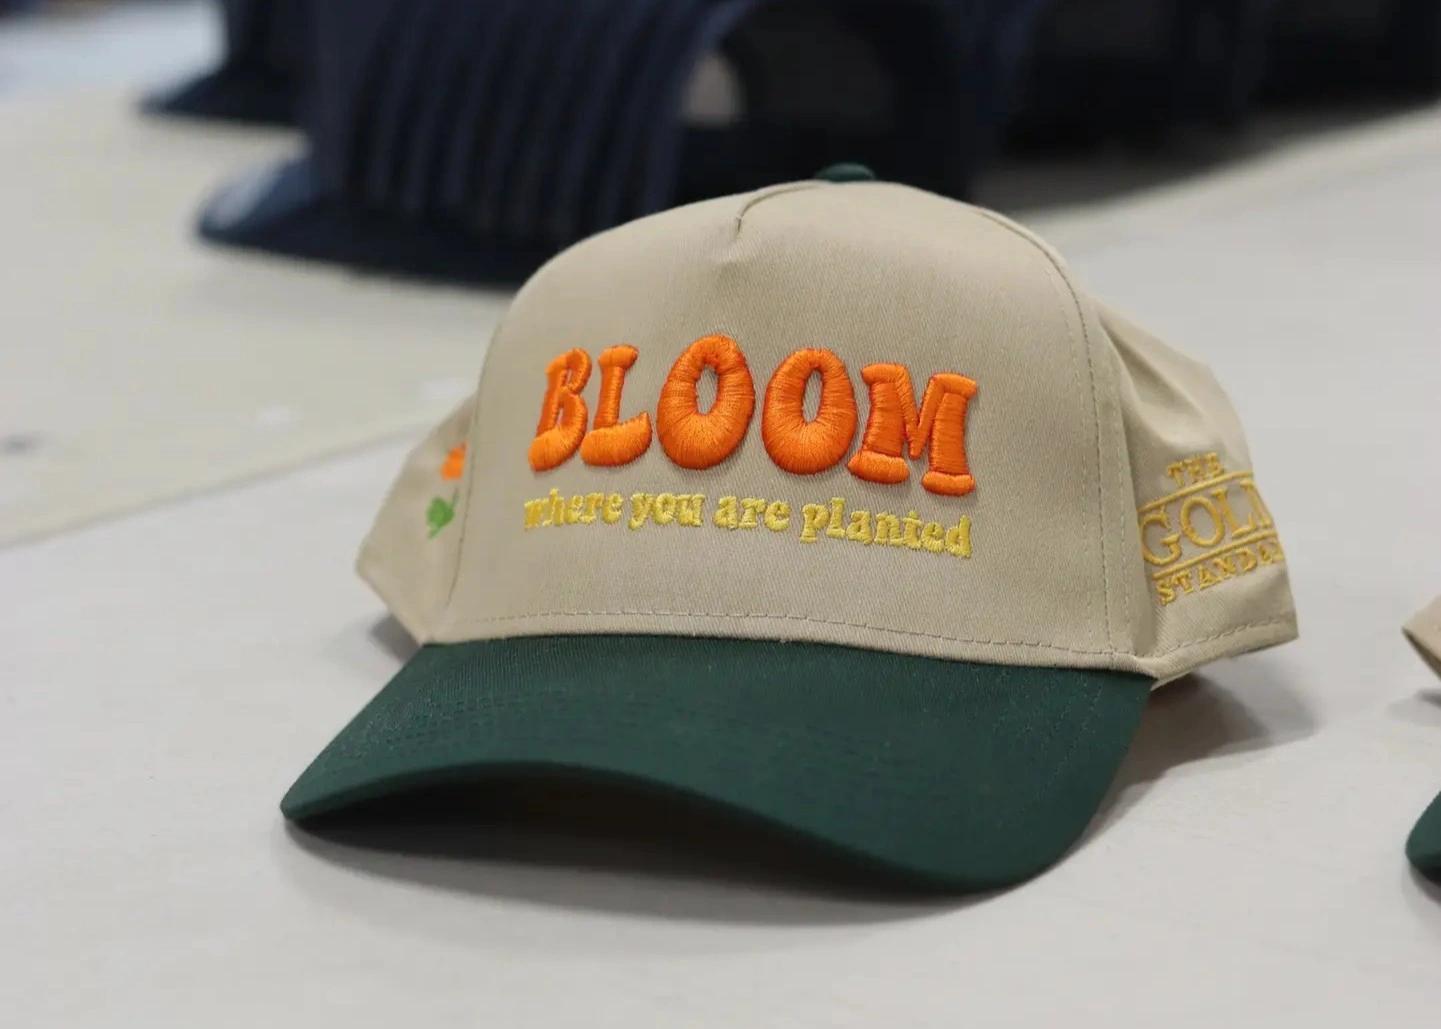
- Keep designs bold and simple — 3D puff embroidery works best with thick lines, large text, and solid shapes. Fine details, thin lines, and small text (under 6mm in height) don't puff well and can look messy. If your logo has fine elements, consider using flat embroidery for those parts and reserving the puff effect for larger elements.
- Choose the right hat style — Structured caps with flat front panels provide the best surface for puff embroidery. The rigid panel supports the foam and prevents distortion. Unstructured or soft-panel hats can work but may require additional stabilization during embroidery.
- Limit your color count — Single-color and two-color puff designs produce the cleanest, most impactful results. Each additional color adds complexity to the digitizing and production process. If you need multiple colors, consider combining puff for the main elements with flat embroidery for secondary details.
Why Choose Garment Decor for Custom 3D Embroidery on Hats?
At Garment Decor, we bring years of expertise in 3D puff embroidery to every project. Our in-house digitizing team optimizes your design for the best possible puff results, and our experienced operators ensure consistent quality across your entire order — whether it's 24 pieces or 2,400.
We work with premium hat blanks and high-quality embroidery foam to deliver products that look and feel professional. Explore our embroidery services or reach out to our team to get a quote for your custom puff embroidery hats.